It is, eventually, kinda nice to see people’s faces, and a voice on a phone or a line of text is only so good. There are quite a few solutions out there. Let’s mention in passing some of the more long established ones:

- FaceTime – if you have an iPhone, or even a Mac with a webcam (most of them these days), then you’re set
- Skype – if you’ve been using this already, then no reason not to carry on
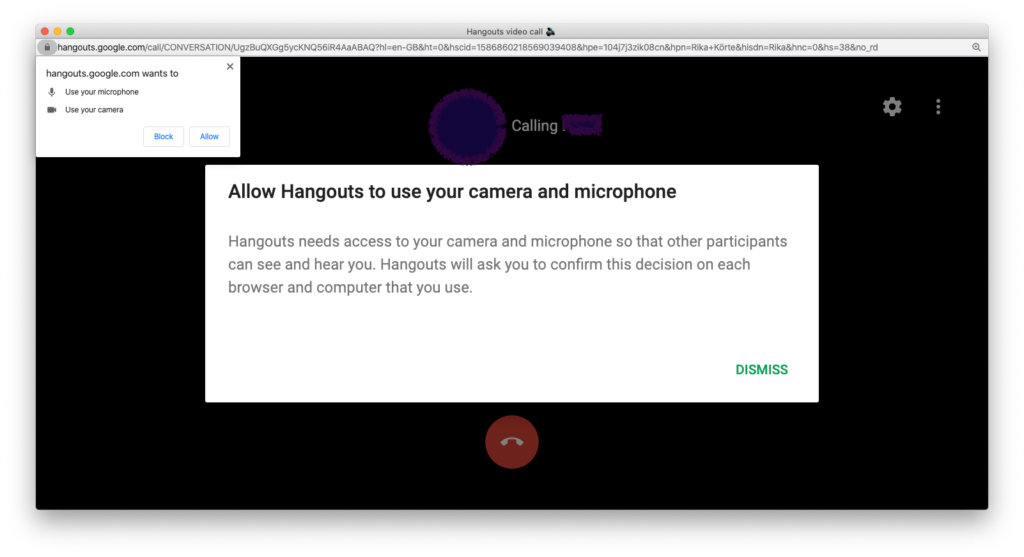
- Google Hangout – again, if you use Google Talk regularly, then you can add video to your text chat just by clicking on the little camera icon and allowing the browser to access your camera, like so…

If you’re on your phone, I’d recommend at least headphones, as this stops the sound from your speakers getting back into your mic, which tends to either a) cause nasty feedback or b) cause the people at the far end of your call to hear themselves delayed by the time it takes for sound to get from them to you and back, which is really off-putting. We’ll talk about better approaches to sound in another post, but headphones of some sort are probably a bare minimum. (Some apps do have clever noise-cancelling software to combat the whole hearing yourself on someone else’s mic thing, but in general? Headphones.)
Next choice, and obviously, if you’ve been following the previous posts, you’ll be wondering how long before I got there, is Discord.

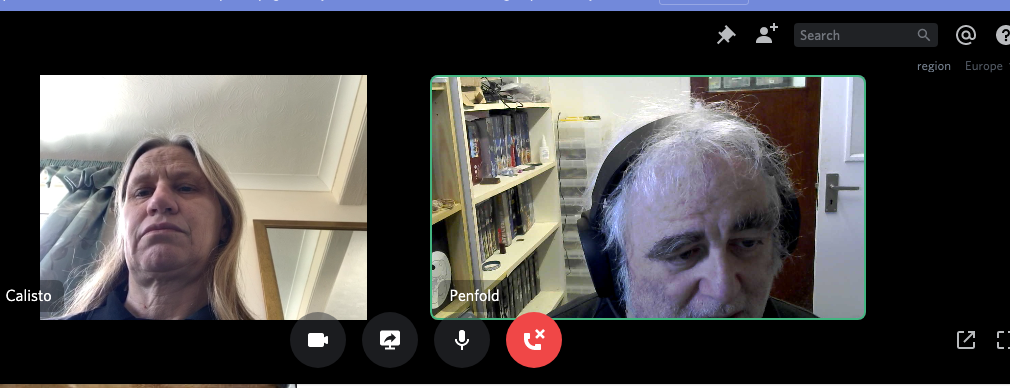
Discord Voice channels are just that – voice only – but you can do video chat with someone you’re having a Direct Message conversation with now optionally video as well. You’ll find when you connect to a ‘voice’ channel there’s a big ‘Video’ button now!
In Direct Messages, just select the video icon (or obviously the phone icon if you want voice only)… and hey presto. Like a lot of video chat tools, you have the option to screen share as well.
It’s also worth noting that you can create group chats with up to 10 people: click on the + next to Direct Messages in the sidebar and you can add friends to a group chat.


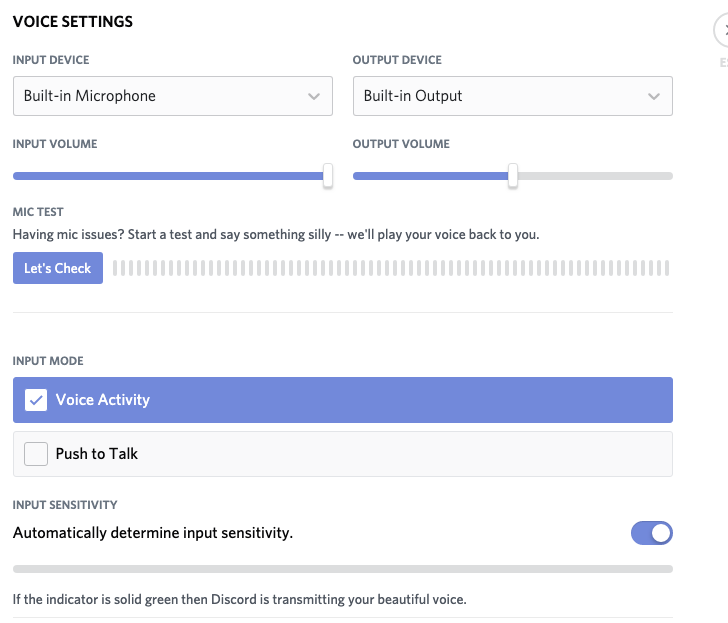
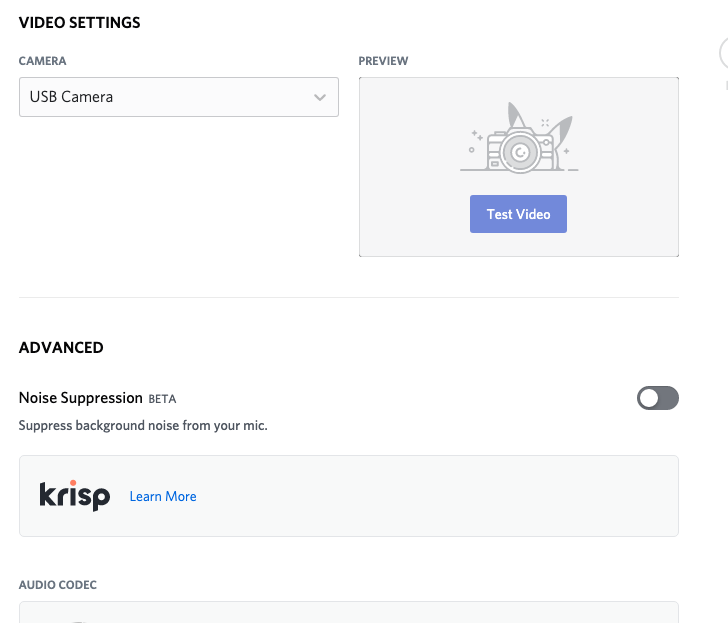
There are a bunch of settings you can tweak – go click on the gearwheel icon bottom left by your account name, and find the Voice and Video section.
First up, the audio bit: if like me you have a headset, you can switch to that rather than speakers (mine plugs into the iMac’s audio socket, which handles both). You can choose push to talk (another common feature on video chat these days), which means the spacebar acts as a transmit switch.

On the video side, you can choose your webcam (I have two, as my iMac is off to one side so I tend to use a second one on top of my second monitor). In Advanced settings, there’s a bunch of stuff you probably won’t need to touch for ordinary talking (and indeed, the default noise cancelling is pretty good at keeping noises from your speakers out of your microphone), but if you’re trying to feed audio from something more complex (like music) you might.

Next post, some of the more serious video conferencing options: Zoom, and new kid on the the block, Jitsi. And you may get to hear me vent on the subject of Microsoft Teams.

Thank you for sharing this article with me. It helped me a lot and I love it.